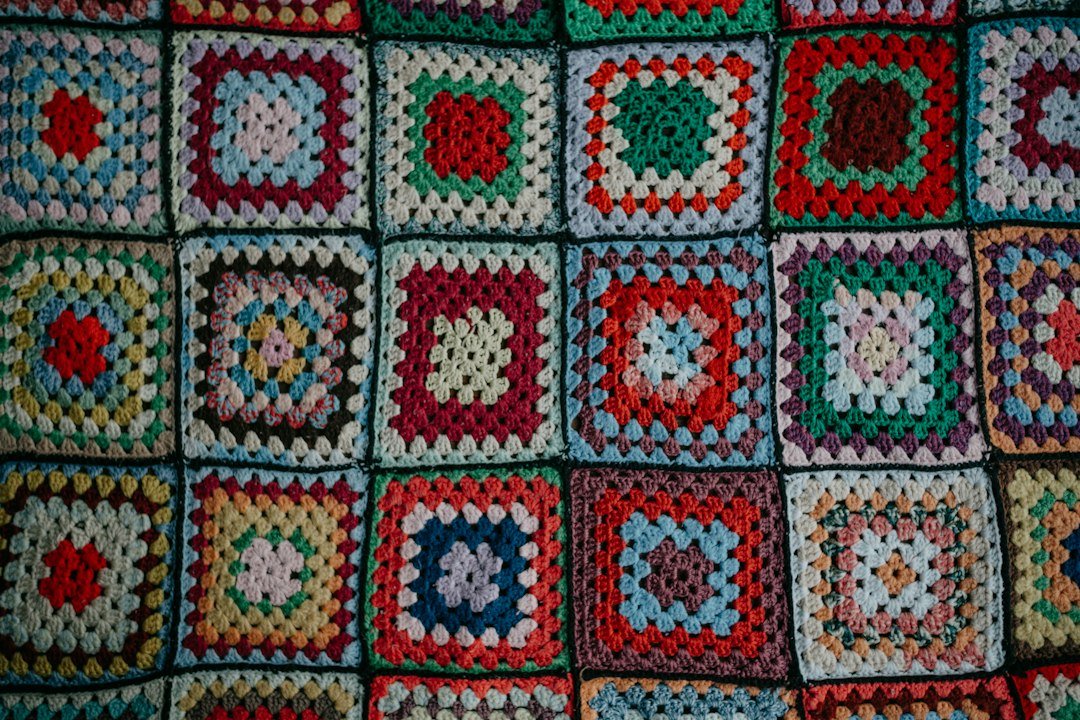
The classic granny square is one of the most useful crochet building blocks. Once you understand the four corners and the spaces between stitch groups, you can make blankets, bags, cushions and more. This version uses US crochet terms.
Materials
- DK or worsted yarn in one or more colours
- a hook suited to the yarn label (usually 4–5 mm)
- scissors and a yarn needle.
Abbreviations
ch = chain; sl st = slip stitch; dc = double crochet; sp = space; beg = beginning.
Pattern instructions
Step 1. Make a slip knot and ch 4. Join with a sl st in the first chain to form a ring.
Step 2. Round 1: Ch 3 (counts as first dc), work 2 dc into the ring, ch 2. *Work 3 dc into the ring, ch 2.* Repeat from * twice more. Join with sl st to the top of the beginning ch-3. You now have four corners.
Step 3. Round 2: Sl st across to the next corner space. Ch 3, 2 dc, ch 2, 3 dc in the same corner. Ch 1. In the next corner work [3 dc, ch 2, 3 dc]. Repeat around, placing ch 1 between corner groups.
Step 4. Round 3 and onwards: In every corner space work [3 dc, ch 2, 3 dc]. In each side ch-1 space work 3 dc. Add ch 1 between groups. Join each round with a sl st.
Step 5. To change colour, fasten off at the join and attach the new colour in a corner space. Continue until the square reaches your chosen size.
Finishing
Weave in ends on the wrong side. Wet block the square by pinning each corner into a neat right angle and allowing it to dry.
Helpful tip
Count the four corner spaces after every round. If the square starts to curl, check that you have not missed a corner or side space.
This pattern is an original Loop & Bloom Crochet design for personal, handmade use. You may sell finished items made from your work; please do not copy, redistribute or resell the written pattern.